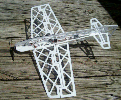
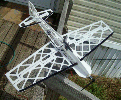
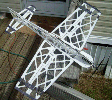
Plans link
Amos kit from BPhobbies
sheets of foam (6mm for full size, 3mm for 75%)
control horns
cheap servos
cheap 72 mhz receiver
motor and Esc (650g thrust 10X4.7 prop and 10.4 amps)
prop saver
3s 1000 mah lipo
5mm CF tube
10 amp esc (for 75% builds)
another 10 amp esc
19gr motor for 75%
5gr servos for 75%
charger1
charger2
charger3
12V power supply for above chargers
battery connectors
motor connectors
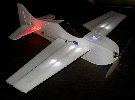
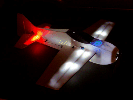
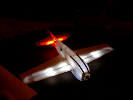
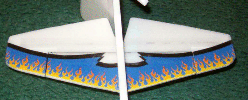
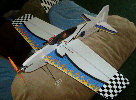
Lit up 3D version
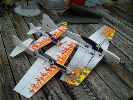
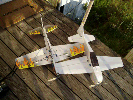
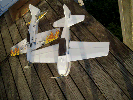
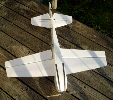
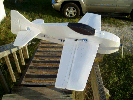
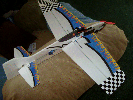
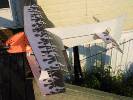
I also made a 3D version, body is all 3mm, wings 2 layers of 3mm with a 6mm CF spar in the middle, horizontal stab 2 3mm layers with led's between, all control surfaces are 6mm. Post on rcgroups here. Some measurements on it:34" wing span
30" 6mm CF tube wing spar
32" nose to the end of the rudder
3.5" body at the widest part
Widest part about 4" back from nose tip
5.75" wing leading edge to aileron hinge line at the body
3.25" wing leading edge to aileron hinge line at wing tip
2.75" leading edge of wing to wing spar (measuring at the body)
25.5" length of center section (top and bottom front edge to rear point)
my CG is right on the spar (could be a bit back further for hovering)
75% Amos (mini)
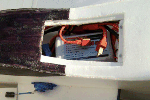
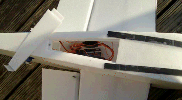
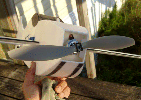
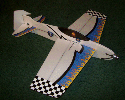
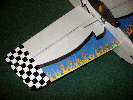
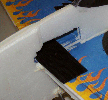
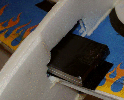
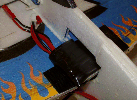
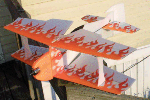
I made a Mini version that is 75% from full size, span is 24.5" length is 22". I made the body from 6mm, and the wings and horizontal stab out of 3mm. I exaggerated the wings just a little, in both width and length. I used a 2s 720 lipo, the above 19 gram motor, 10 amp esc, 3 X 5gr servos and a cheap 72 mhz receiver. The above 19 gr motor has about 240 grams of thrust with a 5X4.3 pulling 8 amps, and 225 grams of thrust with a 5X3 prop, pulling 6.4 amps. I use either one. This is one of my favorites, as it is a convenient size and can handle some wind.The mini was flying well, but would not hold knife edge well, it wanted to fall to the canopy, and if I corrected with aileron, it would still pull toward the canopy, requiring correction with the elevator. The issue was that the center of gravity was too high. I changed the way the battery was attached, by cutting a hole in the body so that I could lay the battery on the wing. Now it holds knife edge with very little input.
75% Soma bipe
I made a 75% soma bipe (bi plane made from the amos), plans can be found in the above plans link. Here is a post on RCGroups about it. I did not end up liking this one as much, not exactly sure why it did not seem to fly right, but I may try it again.50% Amos
I also tried a 50% version, but I made it to heavy and it few really fast. I may try it again later with the new specktrum micro gear (like what is in the micro 4-site).75% Indoor Amos
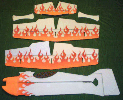
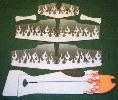
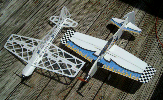
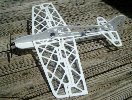
My next amos is another 75% version (same template as above with exaggerated wing width and length). This time I wanted to make it very light for indoor or very light wind. I used the cut out and covering idea and the aileron cut out shape from the extra 300, and the carbon fiber rod bracing down the body and wings from the EPP Gent. I ended up with a pretty good flying plane.I first designed the cutouts on the poster board template, and at each of the corners, used a ¼ (standard) hole punch, to make nice rounded corners. I got one with an extended reach from a craft store (also for holes that are hard to reach, you can use a ¼” leather punch). After punching out all the holes, I used a straight edge and a razor blade to connect all the holes. Now I have a poster board template.
To make the parts, I lightly spray some 3m spray adhesive to the template, and then lay it on the depron. Next is cutting out all the middle pieces. I cut off the end of a small screwdriver and welded it to the end of an old soldering iron. I used this to cut out all the middle pieces. Then (with the template still attached to the foam), on the non template side of the foam, spray more 3m, and stick on the film covering. I taped the covering to a flat piece of glass, then press the foam on it, to get it smooth and wrinkle free. Now I used a hot wire cutter to cut out the pices, cutting through the foam and covering. Then pop off the template, and assemble. After I got it together I used a sharpie to add some pattern, so I can tell orientation in the air.
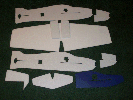
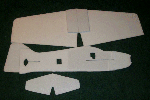
I scanned the parts, and made pdf's. The 3 pages with the body and side stiffener cut the two pieces apart before trying to line up the pages. Plans here.
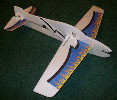
Cut out like the 300 extra:
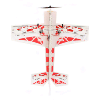
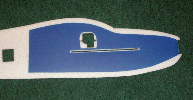
braced with CF rod down the body like the EPP Gent:
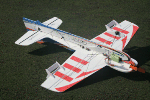
Parts:
3mm depron foam sheets
This battery is ok (2s 180 mah 15C), but I want to try one a bit bigger, maybe around 250-300 mah
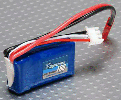
I tried this one, but the motor was a tad weak, and broke on me after a few flights:
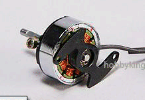
This motor looks like it should work well:
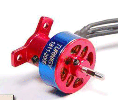
motor I am currently using and like better than the first
6X3 GWS prop
These control horns are ok, but I think a little small and don’t mount very sturdy:
These are a bit larger, but I like them better:
dsm2 rx
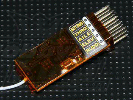
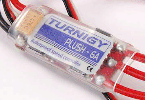
6 amp esc
3mm cf strip
1mm cf rod
1.5mm cf rod
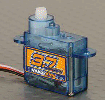
3X servos. I used these, and they are ok (you could spend more and get better servos, but I have not found the need to):
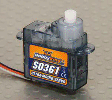
I may also try these:
I put a 3mmX.5mm carbon fiber strip down the leading edge of each wing, and along the bottom front to protect the body durring landing. Then .5 to .8 CF rod for the body bracing, 1mm CF rod for the crossing wing supports, and 1.5mm CF rod for the control rods.
