Here is what was used:
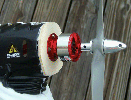
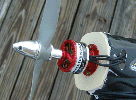
Motor - EMAX CF2812 1600 KV weighs 39 grams Hobby City Heads Up RC
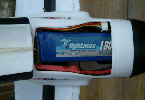
1800 mah 3S 20C lipo (149 grams)
20 amp esc
9 gr servos
Spektrum AR6100e receiver
1/8Ē or 3mm plywood for the firewall motor mount
5mm Carbon Fiber rod
620 grams auw
prop 6.5 X2.9 to 7X4
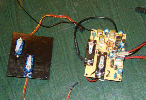
sonic combat module
how to make the sonic combat module work with a standard receiver
I am able to fly for 26 min, which brought each cell down to 3.7 volts, and I charged back 1253 mah into an 1800 mah 3s battery. (using the 7X4 prop)
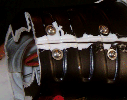
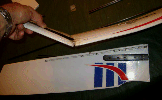
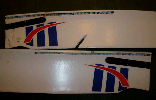
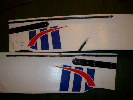
After the first few flights, I pushed it a little hard, and ended up folding one of the wings, which of course ended in a less than graceful landing. So I had to add some carbon fiber rods to the wings. I took an old soldering iron, and used it to melt a channel in each wing, then put a bead of gorilla glue in it, then the rod. Then I covered it with blenderum hinge tape to keep the glue from foaming out, and to hold the rod while the glue dried.
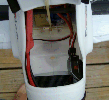
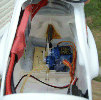
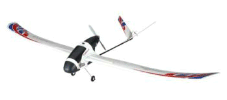
Since the first conversion went to well, and I had another friendís freedom that was dieing, I figured Iíd do another one, and hook up the combat modules to play with. This time I was starting from a complete freedom, and I did a couple of things a little differently. I mounted the servos on a piece of plastic that I cut to pretty much match the stock circuit board that the original servos are mounted in, and used the stock bottom mount to hold it. I raised the top servo a bit, as I would be using longer control horns than stock and this kept them from overlapping, which would cause the rods to hit each other. I also mounted the top servo from the other side of the plastic mount, to off set the horn a bit more (you can see in the pic, the bottom servo is through the plastic piece, and the top one is not). Another thing I left was the stock xport connector. I will use this for the sonic combat module plug in, when I get everything set up. I also added the 5mm carbon Fiber rod to the wings from the start.
Old weights (in grams):
| motor and prop | 118 |
| Battery | 149 |
| board with Servos | 58 |
| Total Removed | 325 |
New weights (in grams):
| motor, mount & 2mm connectors | 43 |
| fire wall | 2 |
| prop & adapter | |
| Battery | 149 |
| board and servos | 27 |
| Receiver | 4.4 |
| ESC & connectors | 34 |
| Carbon Fiber rods, glue & Tape | ? |
| Total Added | 259.4 |
I wanted to use a cheap transmitter for one of the Freedoms, so that I had everything for combat. I had a transmitter from a blade CX2, that I had been using as a trainer (LP5DSM), but it is still DSM2. I did not want to have to flip switches (which is how you set up mixes and do reversing) so that I could still use it as a trainer easily. I got a Digimix II mixer, which allowed me to do on board mixing, set up travel limits and do servo reversing. I also opened up the transmitter, and added a momentary push button switch to the 5th channel for firing the combat module (so I did not have to turn the knob back and forth to fire).
