The Recommended motor (which does work very well):
http://www.graysonhobby.com/catalog/product_info.php?ref=3&products_id=414&affiliate_banner_id=1
An alternative motor and ESC I have used:
http://www.hobbycity.com/hobbycity/store/uh_viewItem.asp?idproduct=6263
http://www.hobbycity.com/hobbycity/store/uh_viewItem.asp?idproduct=9299
and batteries like these:
http://www.hobbycity.com/hobbycity/store/uh_viewItem.asp?idProduct=6518
http://www.hobbycity.com/hobbycity/store/uh_viewItem.asp?idProduct=6306
I used the HTX 9 gr servos for the alerons and rudder, and an HTX 5 gr servo for the elevator (I did not have room for the 9gr with the lights)
For foam, servo and rc store info, see the General page
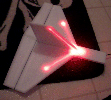
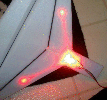
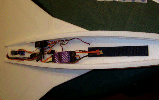
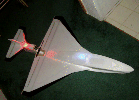
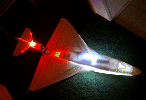
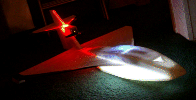
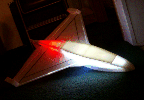
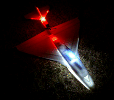
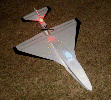
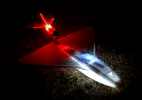
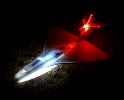
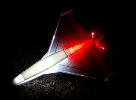
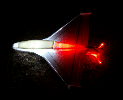
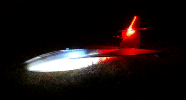
Mostly stock, but I added some internal LED's to light up the fuse, and some Fiber optic strips, sanded on the sides to emit light through the length of them. There are 3 fiber optic strips in the tail, and one down each wing.
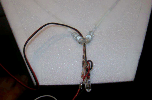
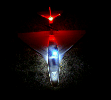
3 leds on 3 fiber optic stips, embedded in the foam, in the tail.
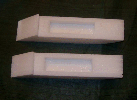
hollowed out the tip floats, in the hope that they would glow with the light from the end of the fiber optic strips, but not so much, as most of the light is lost through the sides.
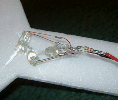
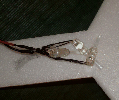
The red led's attached to the end of the fiber optic strips in the tail, using a couple pices of tubing. The leds need to be pointed right into the end of the tubing. Also covered the connections with liquid electrical tape
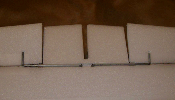
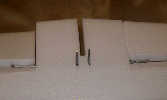
used torque rods for the ailerons
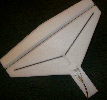
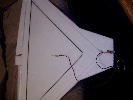
from the bottom, you can see the wing fiber optic strips a bit better from the bottom, they are inserted into a channel in the foam from the bottom, then spot glued in, and taped over the full length.
